Moa Adjustment Chart - Long Range Shooting Moa And Mils Explained

Long Range Shooting Moa And Mils Explained

How To Calculate The Minute Adjustments Required To Make On .

What Is Moa We Help You Understand Minutes Of Angle For .

Moa Vs Mrad .

Moa Vs Mil Chart The Optics Talk Forums Page 1 .
Long Range Shooting Moa And Mils Explained .
Simple Adjustment For Wind Drift .

Mils Vs Minutes Of Angle The Complete Guide Everyday Marksman .

Pin On Scope Settings .

1 4 Moa Adjustment Chart .

A Very Useful M16a2 A4 M4 Dope Chart .

What Is Moa We Help You Understand Minutes Of Angle For .

Ballistic Table Wikipedia .

Adjusting For Wind .

Mils Vs Moa Which Is The Best Long Range Language Gun .

Ballistic Table Wikipedia .

What Is Moa We Help You Understand Minutes Of Angle For .

Compensating For 223 Bullet Drop The Firing Line Forums .

Resources Accuscope .

What Is Moa And How To Use It .

Understanding The Sights On Your Sks Ak 47 Rifle Peaceful .

Mils Vs Minutes Of Angle The Complete Guide Everyday Marksman .

Minute Of Angle Moa Nssf .

Page 12 Turret Adjustments And Minute Of Angle Moa .

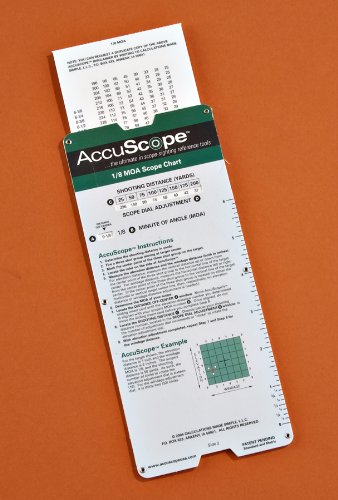
Accuscope 1 8 Moa Scope Sighting Tool Chart .

Long Range Mrad Shooting .

Mils Vs Moa Which Is The Best Long Range Language Gun .

Becoming Riflemen A Concise Guide For All People To Become .

Shooterscalculator Com 50 Bmg 750gr Hornady A Max .

Moa Master Target Ranging Chart Free Download Gun Warrior .

Rds Zeroing Using Moa Mil Sof Arms .

Looking For Help With Moa Hunt Talk .

How To Calculate Moa Different Magnification Levels May 2019 .

Adjustment Graduation 1 4 Moa Travel Per Rotation 12 Moa Max .

How To Adjust A Rifle Scope Blue Line Optics .

Leupole Vx2 The Optics Talk Forums .

Minute Of Angle Moa For Scope Adjustment Precision Rifle .

Accuscope Scope Charts Moa Accuscope Scope Chart Newegg Com .

Circumstantial Bullet Fps Chart Rifle Caliber Velocity Chart .

Windage And Elevation Adjustment Dials Zeroing Your Scope .

How To Adjust Your Scope For Different Ranges .

Zeroing Your Scope Ncstar Vcbtrep3540g User Manual Page .

What Is Moa We Help You Understand Minutes Of Angle For .
Monarch M5 5 20x50sf Matte Mk1 Moa From Nikon .

Riflescope Knowledge Archives Blue Line Optics .

Calc Bullet Drop In Moa Or Clicks Come Up Ballistics .

U S Optics Ts 20x 2 5 20x50mm Riflescope .

File Ballistic Table For 7 62x51 Mm Nato Mil And Moa Png .

Minute Of Angle Moa For Scope Adjustment Precision Rifle .

Mils Vs Minutes Of Angle The Complete Guide Everyday Marksman .
- create pie chart online
- chevalier theater seating chart
- cpm chart
- organizational chart in word
- contact lens to glasses conversion chart
- boot size chart width
- window blind size chart
- fly size chart
- tableau pie chart
- barclays concert seating chart
- baptist one care my chart
- duke my chart
- nfl chart
- adidas yeezy size chart
- next level size chart
- decarb chart
- urine dipstick results chart
- raci chart definition
- wire diameter chart
- shoe width measurement chart
- dow jones historical chart
- seating chart template
- baby feeding chart by weight
- snhu arena seating chart
- breast implant size chart
- isacord thread chart
- resistor value chart
- miss me jean size chart
- body organ chart
- boeing 737 seating chart