Battleborn Charts - Figure 2 Discharge Voltage Curve Comparisons For 3

Figure 2 Discharge Voltage Curve Comparisons For 3

Modern Warfare Retakes 1 In Charts Battleborn Shutting .

Pc Download Charts Dark Souls Iii Doom Battleborn .

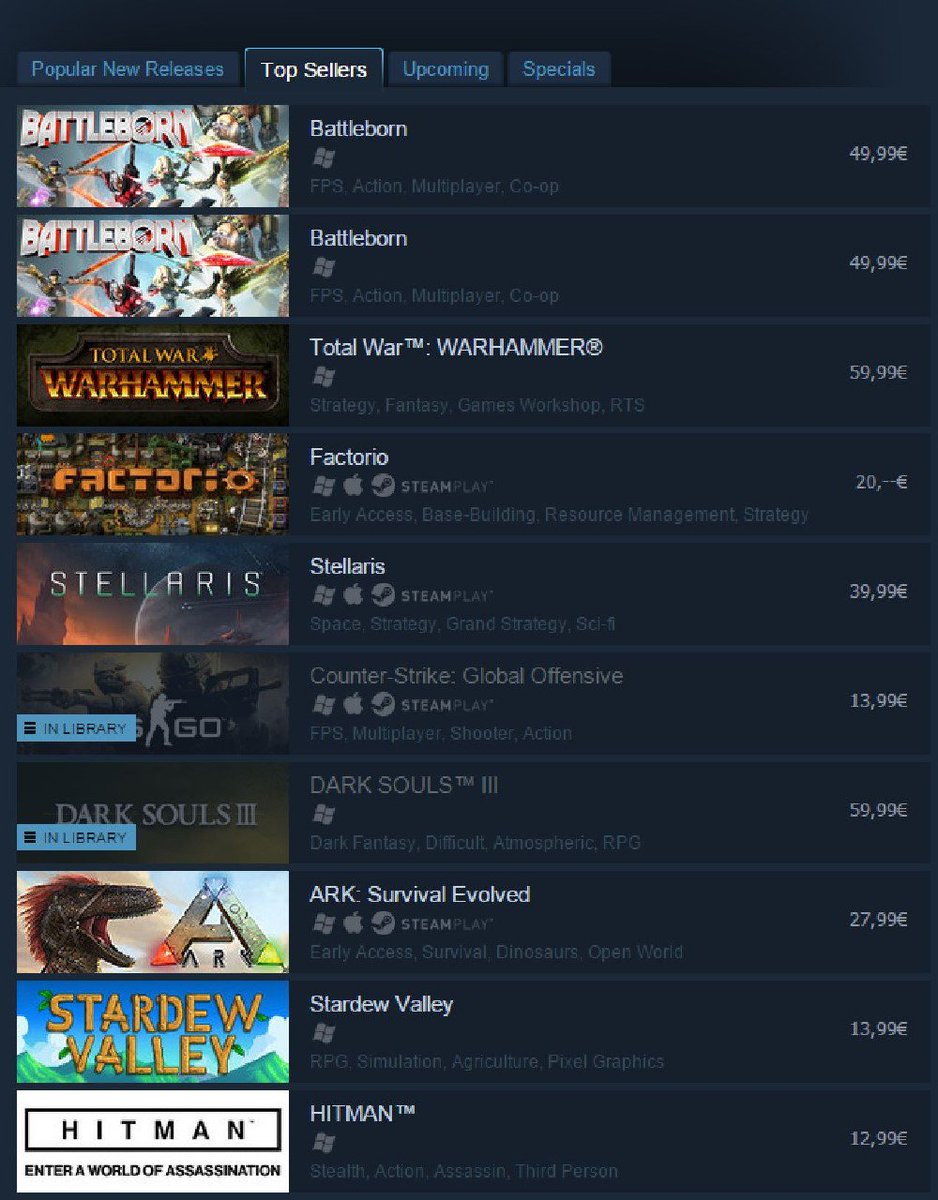
Screenshot Taken Today On Steamcharts Did Battleborn .

Pc Download Charts Battleborn Prepares Dark Souls Iii .

Uk Sales Charts Battleborn Reaches Number One But .

Battleborn Playstation 4 B00lo53fy8 Amazon Price .

23 Memorable Steamcharts Team Fortress 2 .

Battleborn Appid 394230 Steam Database .

So What Exactly Happened To Battleborn Shoot N Repeat .

Ratchet Clank Beats Battleborn In Uk Top 10 Games Charts .

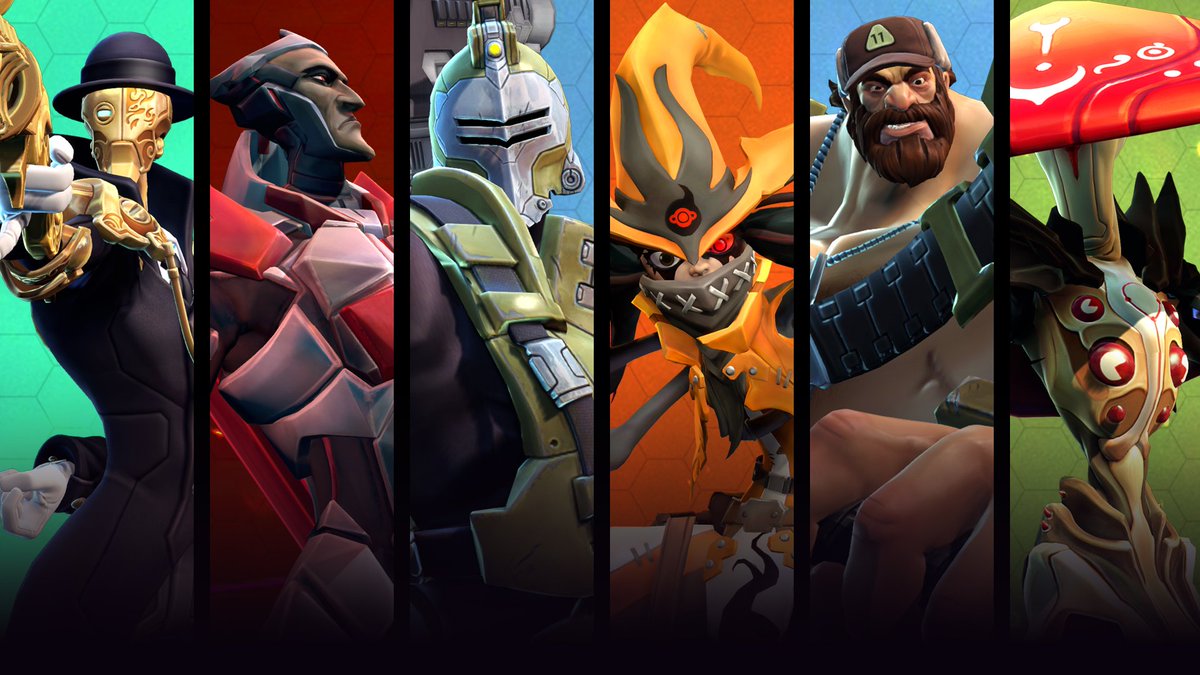
Battleborn Character Models .

Take Two Interactive Tops The Uk Charts With Gearbox .

Battleborn At The Top Of This Weeks Uk Charts Battleborn .

Battleborn Begins Winding Down Premium Currency Purchases .

Battleborn Player Count .

Battleborn On Steam .

Battleborns Concurrent Players Will Drop From 15 To 0 In 2021 .

Battleborn Steam Charts Gallery Of Chart 2019 .

Uk Charts Massive Drop For Battleborn Uncharted 4 And Doom .

Charts Battleborn Takes Number One At Retail .

Battleborn .

Whos Still Playing Battleborn Down To Under 1k Players .

The Killers Battle Born Tops Charts News Clash Magazine .

Battleborn Playstation 4 B00lo53fy8 Amazon Price .

The Importance Of Video Game Preservation And Why Games .

Battleborn Player Count .
Figure 2 Discharge Voltage Curve Comparisons For 3 .

Battleborn Appid 394230 Steam Database .

Top 10 Uk Sales Chart Battleborn Debuts At No 1 Gamespot .

Battleborn On Pc Is Dying And Not Slowly Kotaku Australia .

Battleborn Appid 394230 Steam Database .
Ratchet Clank Beats Battleborn In Uk Top 10 Games Charts .

For The First Time In Years The Battleborn Playerbase Is .

Battleborn Is Officially Shutting Down Kitguru .

50 Prototypical Scum Steam Charts .

Gearbox Winds Down Battleborn Development Bit Tech Net .

Battle Born Song Wikipedia .

Battleborn Appid 394230 Steam Database .

Is Battleborn Still Worth Buying Mentalmars .

Battleborn Ends Ratchet And Clanks Two Week Chart Reign .

Fifa 20 Tops The Charts Witcher 3 On Switch Wargroove .

Battleborn 4 Pin Molex To 8 Pin Eps12v Connector Pc .

Battleborn Servers Shutting Down In January 2021 Vgchartz .

Battleborn Steam Charts Gallery Of Chart 2019 .

Comparison Between One Battle Born Lifepo4 Battery And Two .

Stephen Arnold Music Creates Original Music For Battleborn .

Battleborn On Pc Is Dying And Not Slowly Kotaku Australia .

Uk Charts Massive Drop For Battleborn Uncharted 4 And Doom .
- 2019 tax chart
- length measurement chart
- lularoe randy size chart
- fox theater detailed seating chart
- general finishes milk paint color chart
- daily nutrition chart for adults
- basal body temperature chart examples
- welding chart
- gal size chart
- cibc theater seating chart
- mountain winery seating chart
- yankee stadium seating chart with seat numbers
- ralph size chart
- steam charts
- calorie density chart
- faa sectional charts
- canada goose size chart
- metal weight chart
- husqvarna belt size chart
- gantt chart timeline
- asl alphabet chart
- printable shoe size chart
- ugg toddler size chart
- 2015 military pay chart
- european shoe size conversion chart
- erwin center seating chart
- birkenstock size chart us
- heavy 16 feeding chart
- foot size chart
- electrical box size chart